Garden Nights Experiment
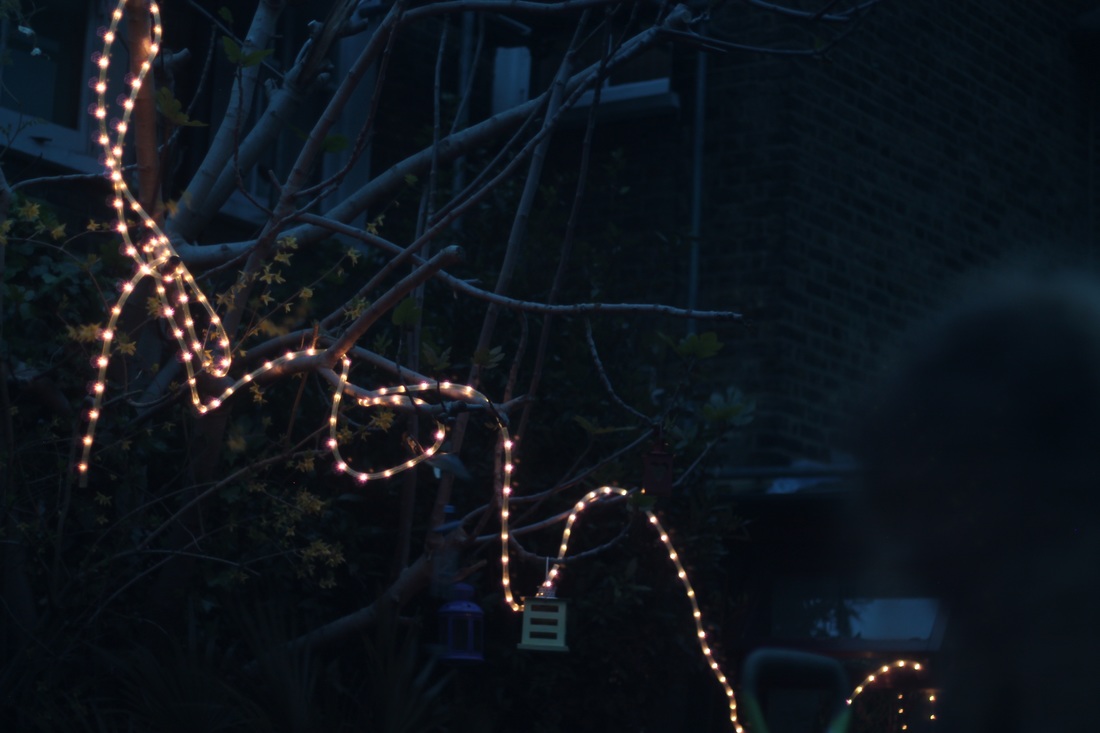

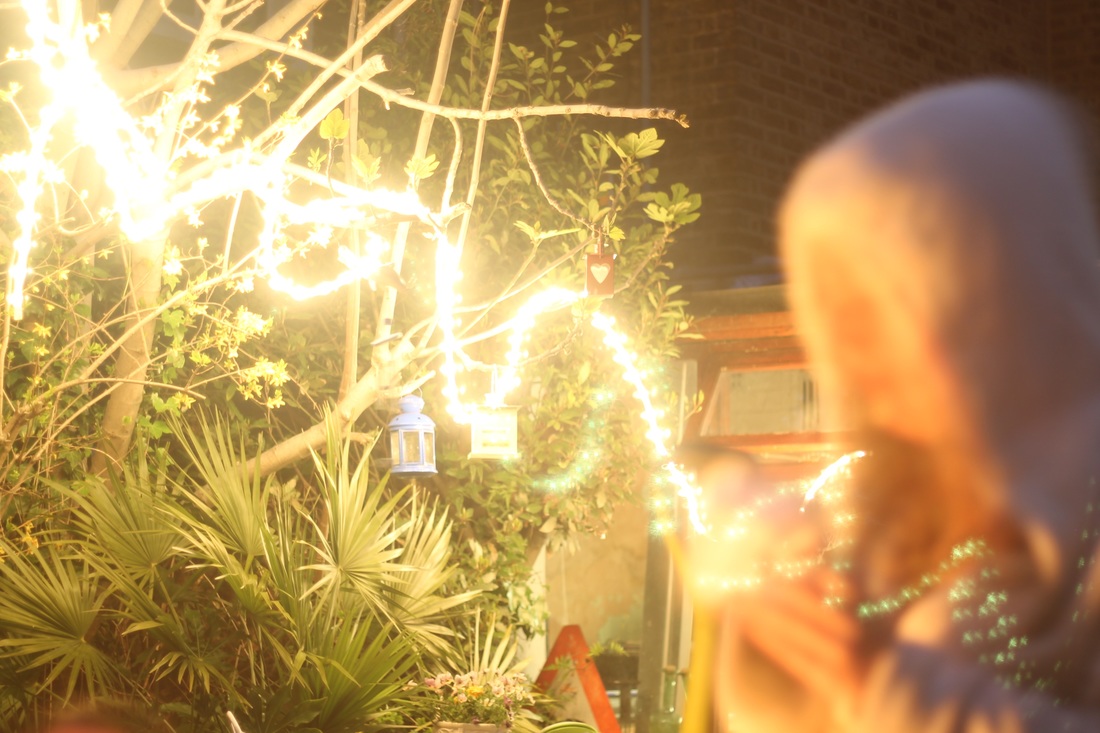
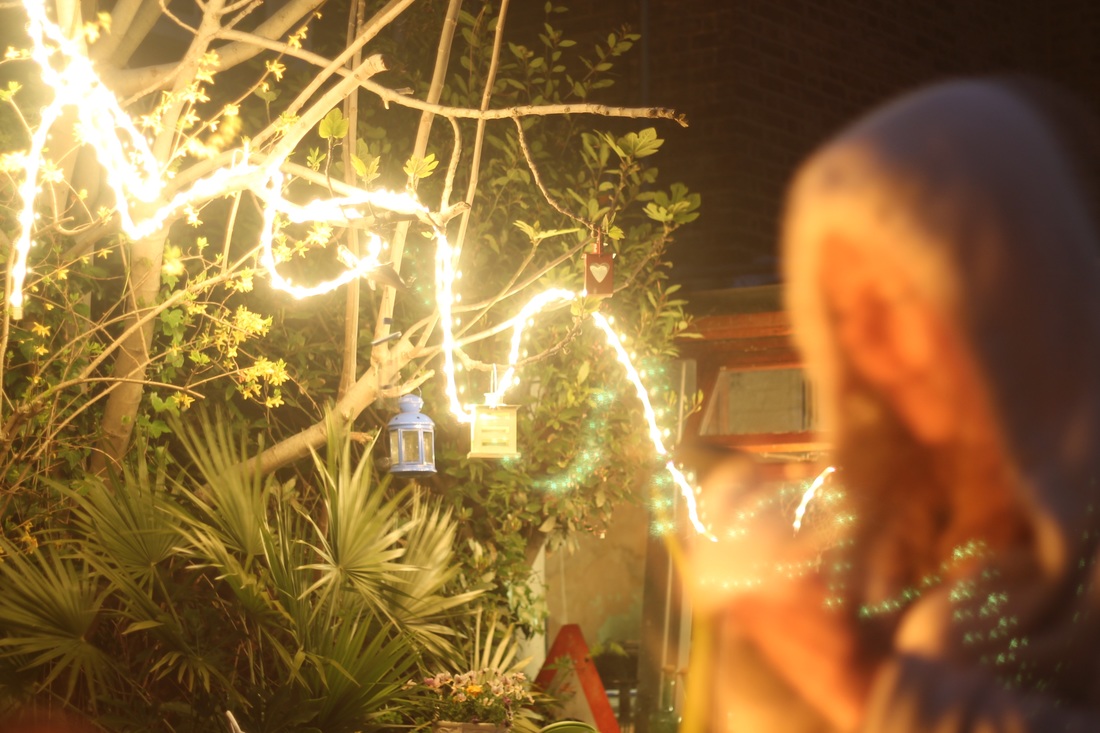
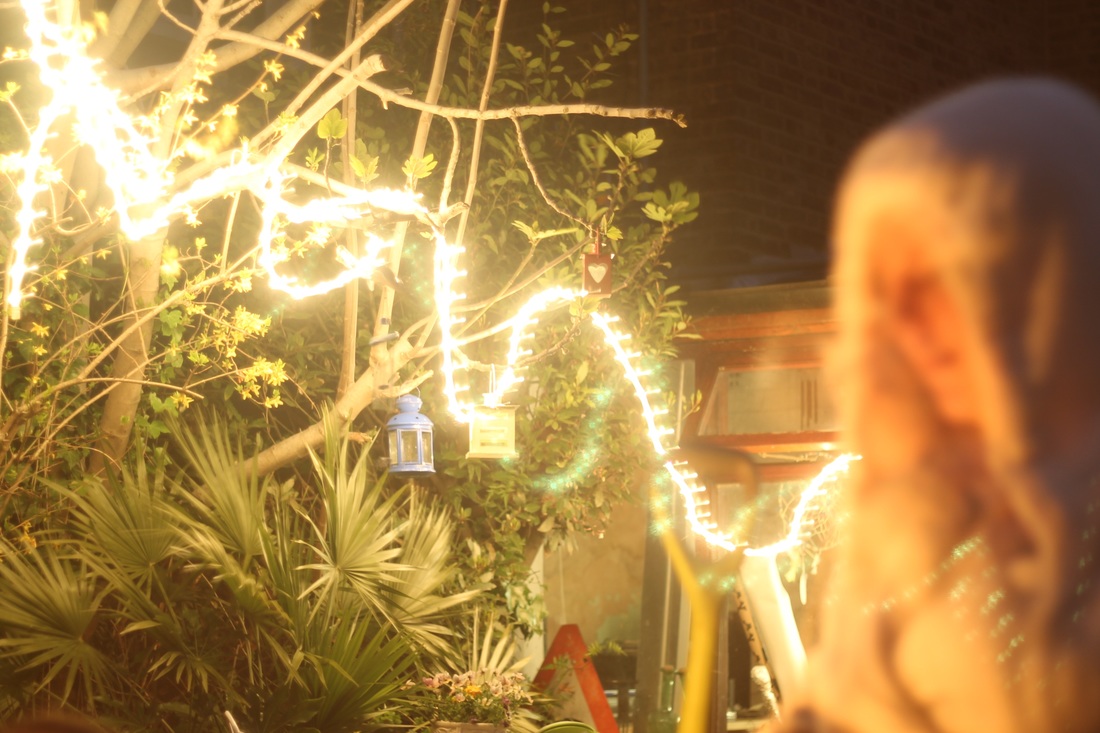
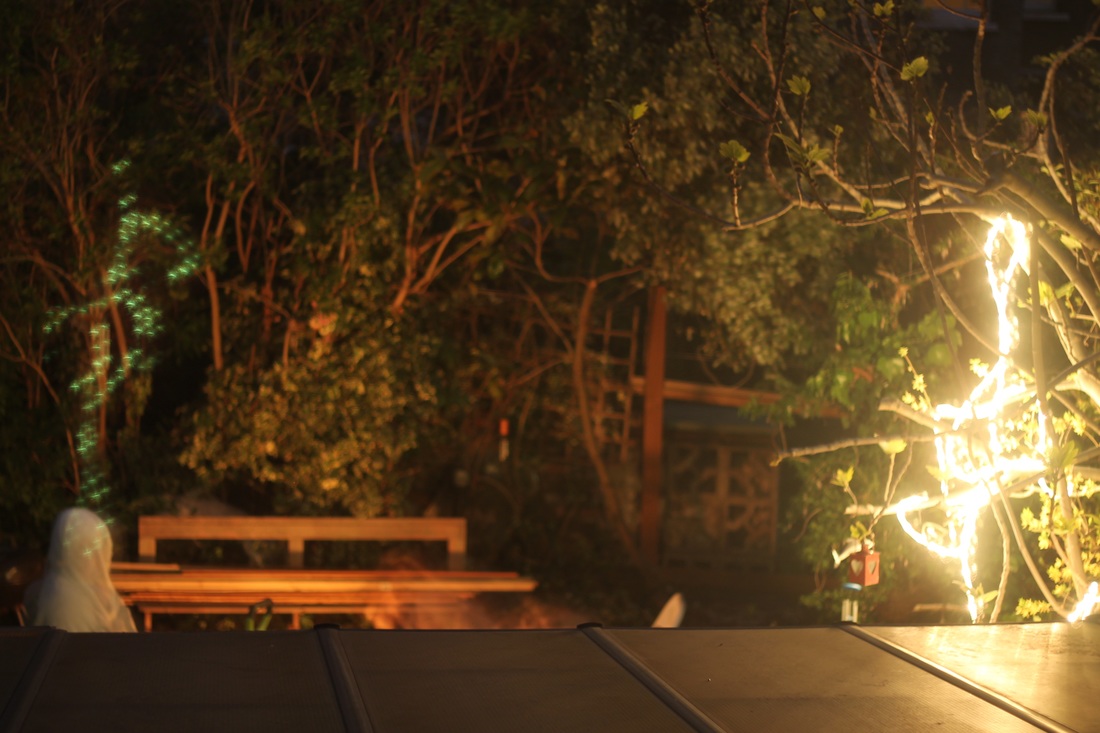
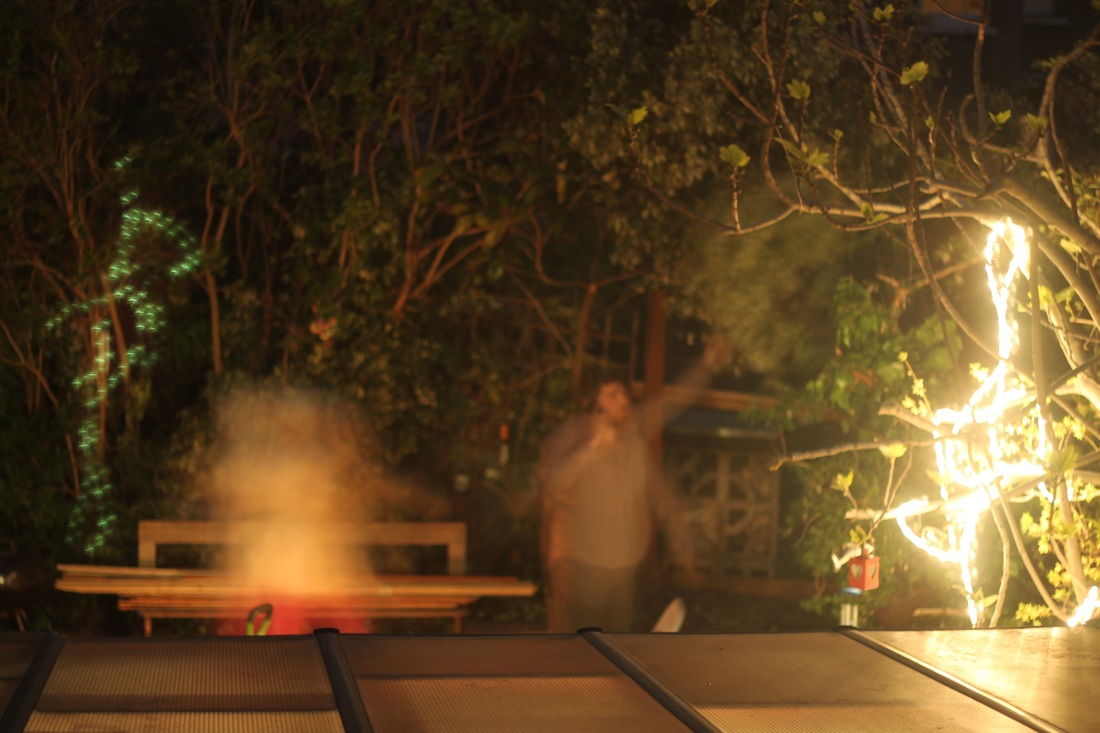
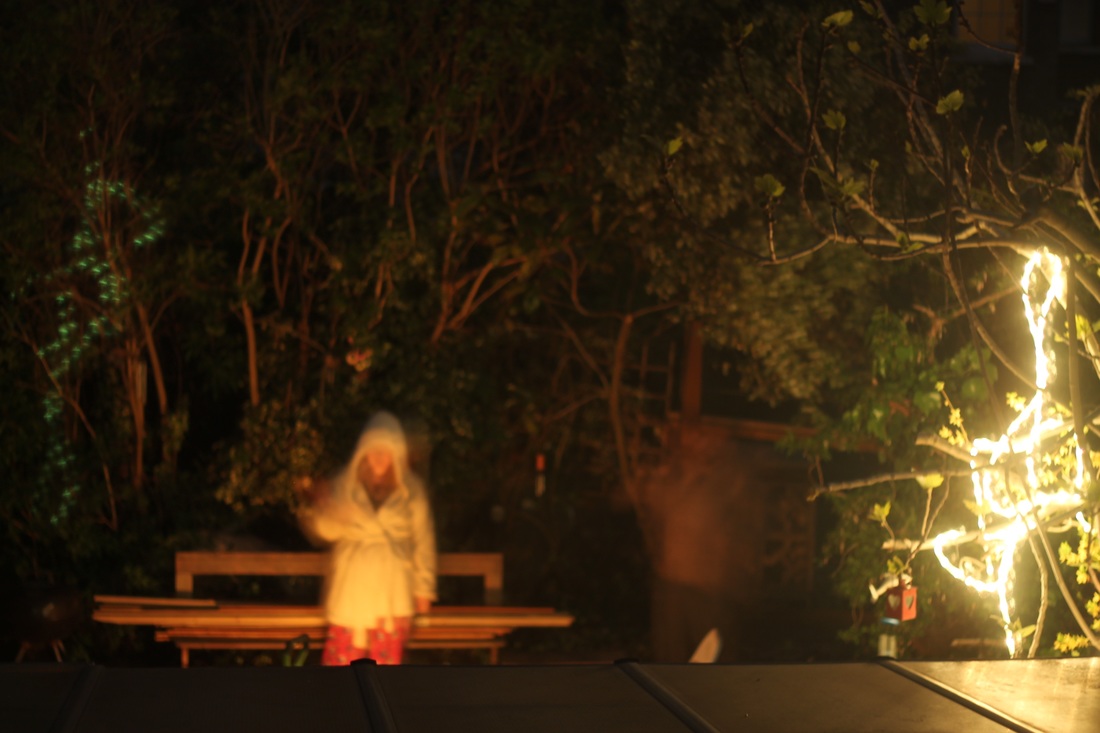
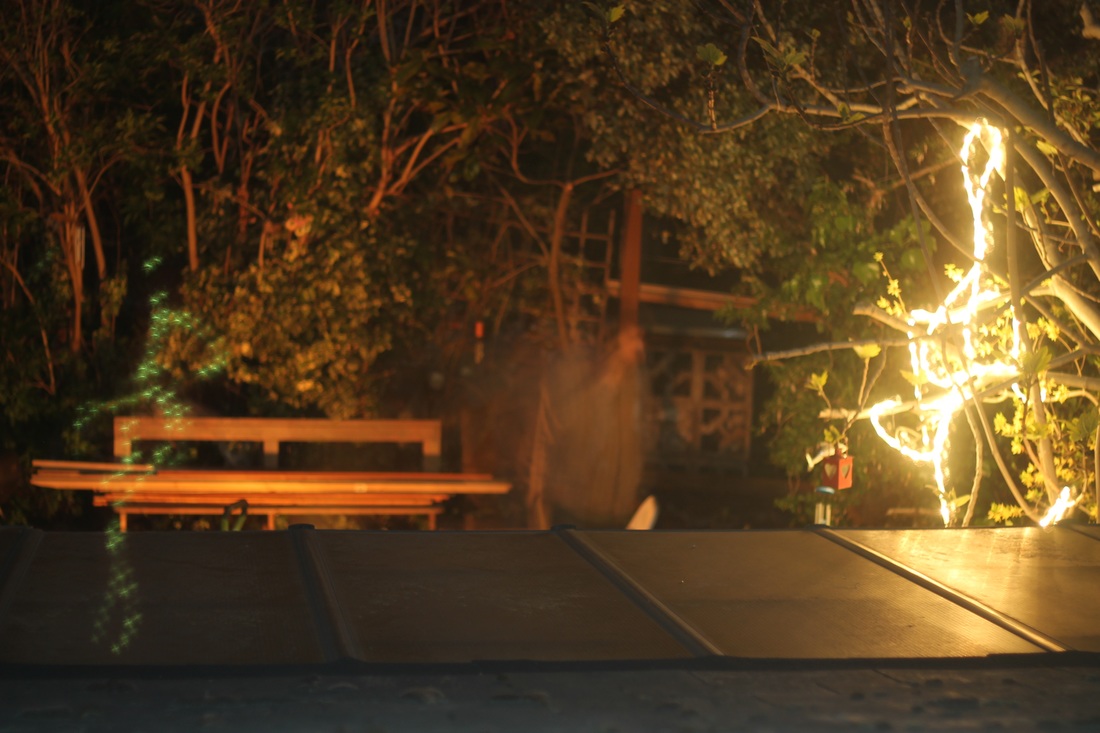
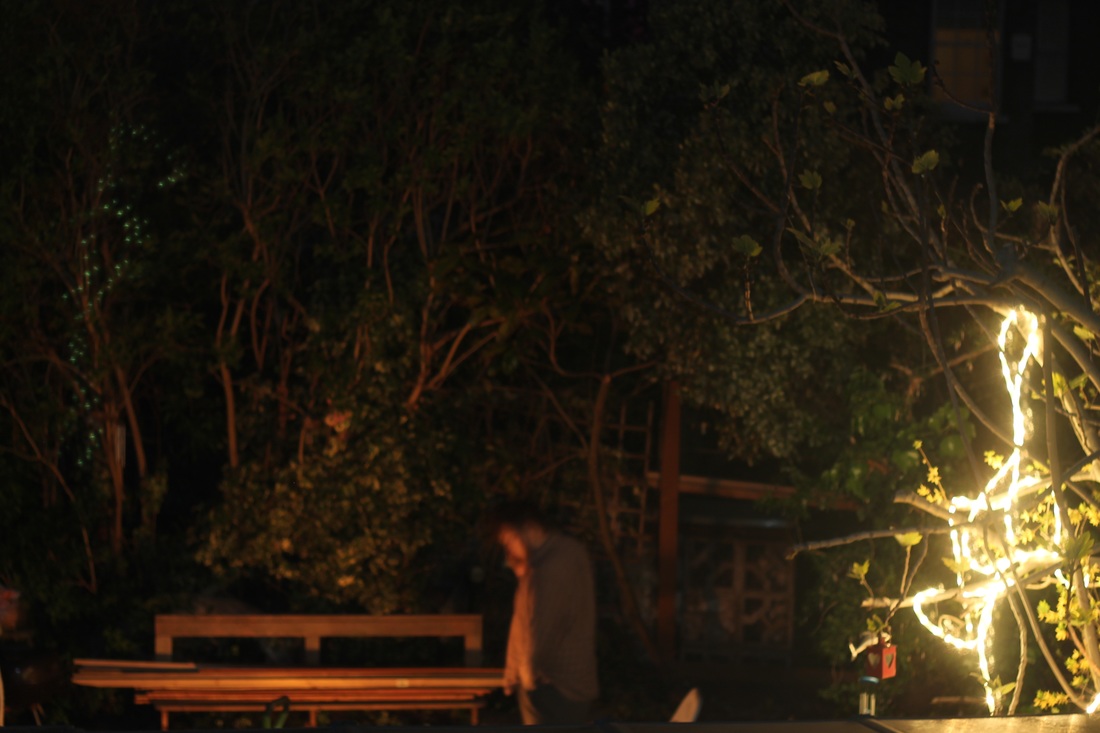
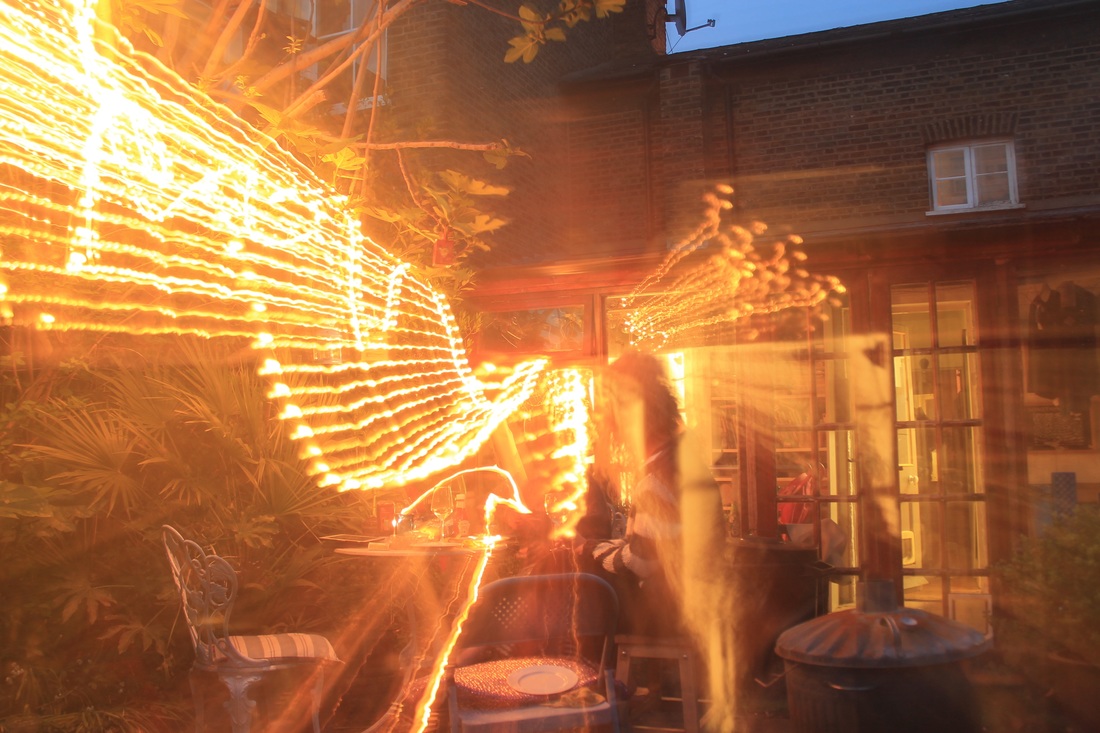
These pictures are from a night that was spent in the garden with my family. We lit a fire and turned on some fairy lights along the trees. I thought the fairy lights looked great next to the green leaves so I decided to try and get a photo of it. I got my camera and a tripod, and at first set it up at the bottom of the garden. I focused the camera, and kept the focus on manual mode so that when it got darker, it wouldn't have trouble trying to focus on the subject. I then set the mode on the camera to manual. In the first 4 pictures you can see that the image is very dark. I was playing around with settings, trying to get an idea of what worked best. The settings I used for those pictures ranged from ISO 100, F/22 and Tv20 to ISO 100, F/1.8 and Tv15. I was using a filter over the lens as it wasn't completely dark at that time. After I saw that those 4 photos didn't come out well I adjusted the filter to let in more light and I started to get more of an image. I completely opened the filter and the image became a little over exposed. I was struggling to get a decent photo from that angle, so I decided to change my position and went inside my house to take a photo from a window. I kept the same settings except changing the Exposure to Tv5. I asked my sister and my other sisters boyfriend to make a lot of movement so it would create a blur. Some of the images came out quite well but I think I still need a lot more practise. Next time I would like to learn how to get the settings right and pay more attention to composition.
Photographing Jupiter
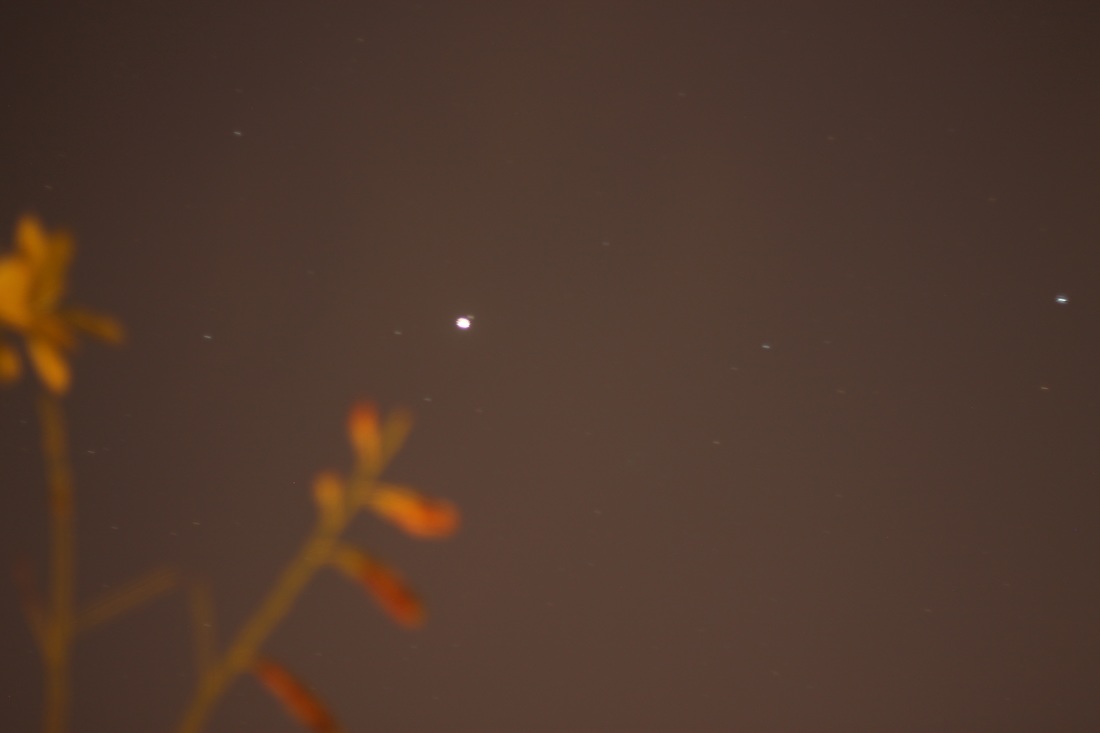
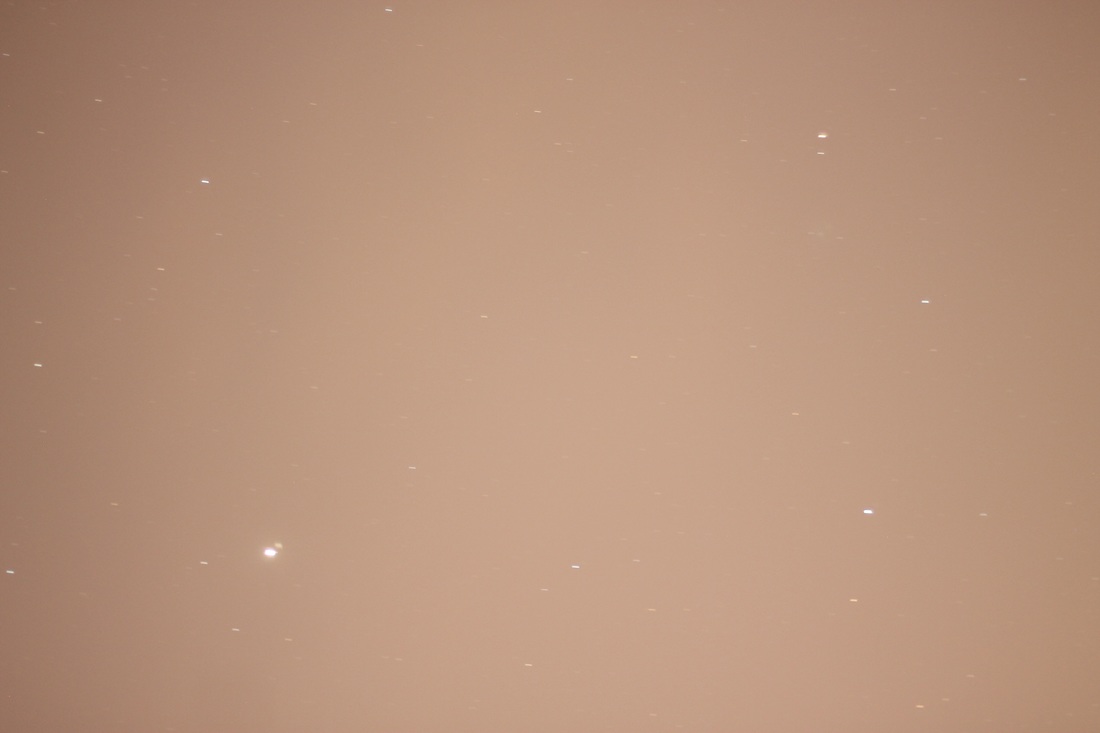
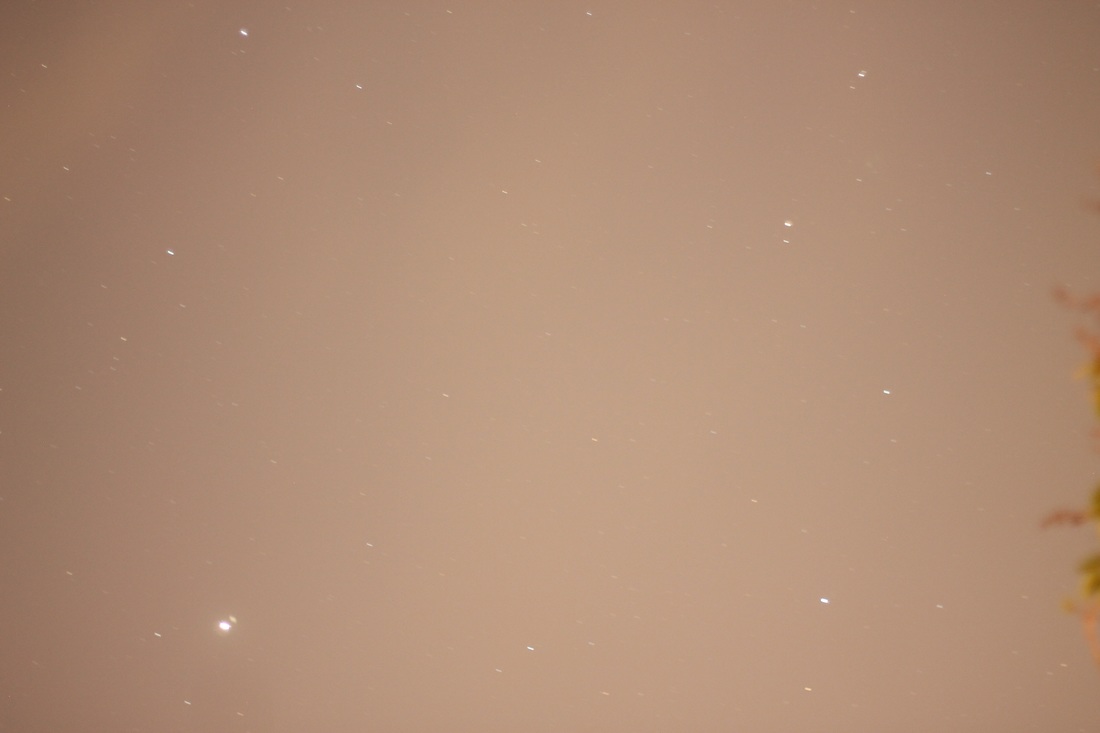
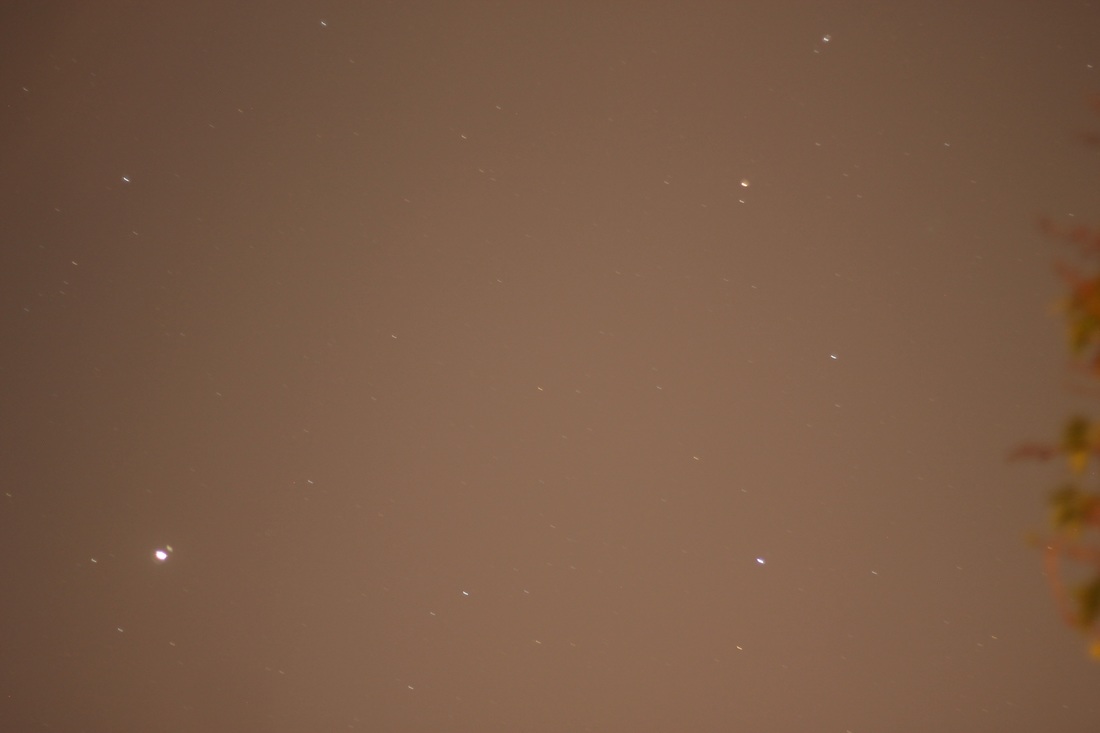
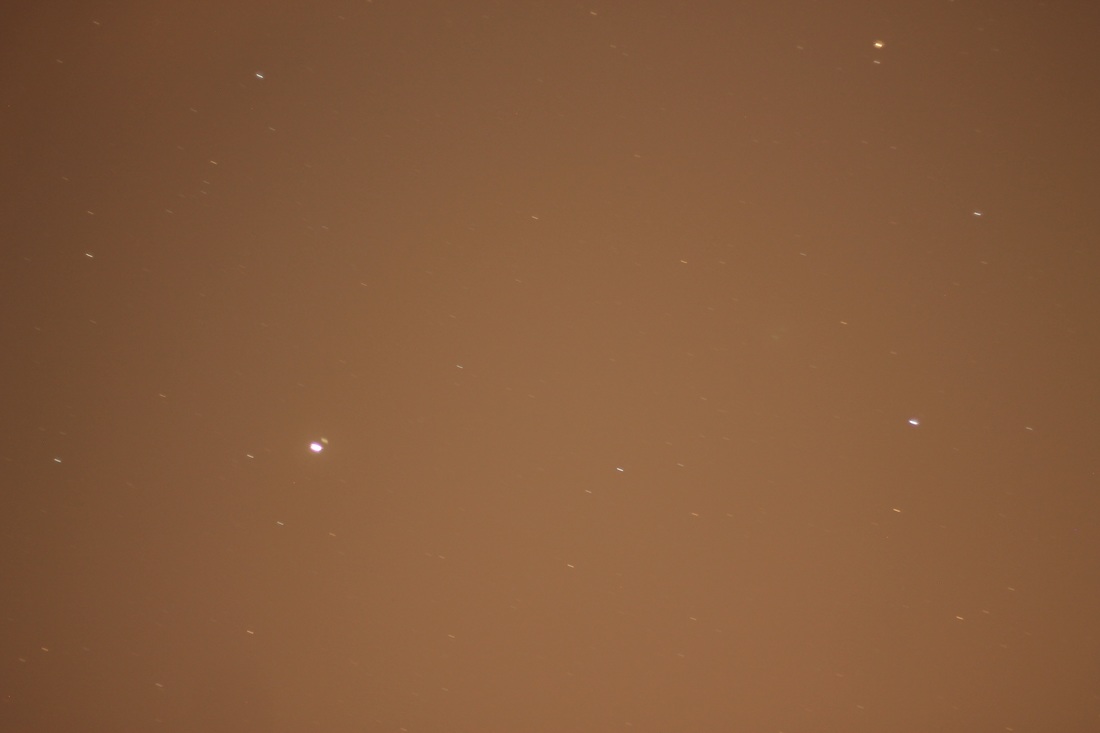
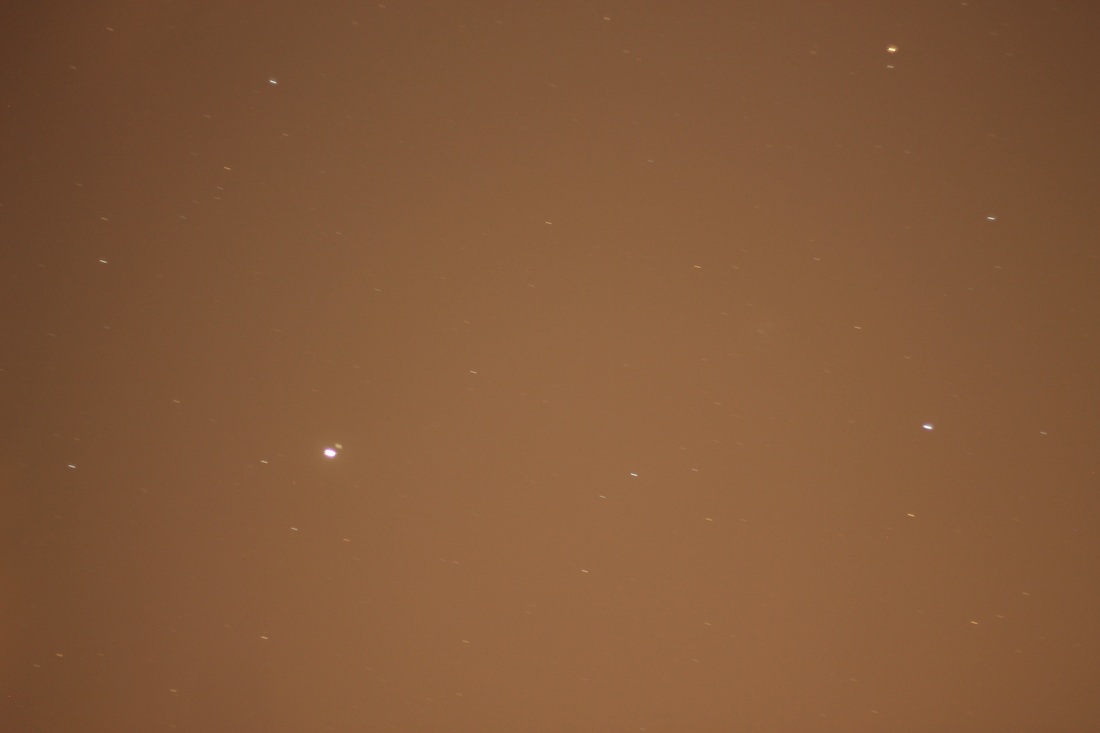
On the same night as I tried the long exposures we noticed a bright star that stood out a lot more than the others. After looking on the internet and using apps we found out that it wasn't a star, but a planet; Jupiter. The star is distinguishable from the others as it is brighter and slightly larger. I angled my tripod towards the planet and made sure it was in focus since I knew that a slight adjustment could ruin the photo. For the first 2 I used the settings : ISO 400, F/1.8 and Tv30. I noticed a slight white tint to the photos and decide to adjust the settings. I changed the ISO to ISO 200. I like the way these photos came out a lot more compared to the ones with a higher ISO setting. Although the photo wasn't exposed for long (My longest exposure available on the camera is 30 seconds), a slight streak is noticeable in the background stars (I mention streaks in the stars on my Astrophotography page). But there was an outstanding problem that I couldn't avoid : Light Pollution. Even when turning all the lights off in the garden the image still came out with an orange tint. I am pretty sure this is just from the huge amount of light given off by surrounding houses and streets. If I was to try this experiment again I would try it in a different location, possibly the countryside in order to get the best results.
After I realised about the tint of the photos I decided to film the Planet for 15-20 minutes and turn it into a time-lapse. I ended up shooting a 16 minute long video of the planet. Even though it wasn't a particularly long video, you can still see the movement of the Planet across the sky and it really gives you a sense of scale of planets. As I said, the original video is 16 minutes long so I put it into iMovie and started to adjust the speed. I settled at speeding it up 4,700x it's original speed. The video ended up being 21 seconds long. The planet is orbiting the sun at 13.1km/s which is incredibly fast, yet it looks so slow. As I said, the original video is 16 minutes long so I put it into iMovie and started to adjust the speed. I settled at speeding it up 4,700x it's original speed. The video ended up being 21 seconds long. This video is quite bad quality and it was just a fun little thing to do in spare time, but I would really really love to do it again and try and maybe film it for longer.
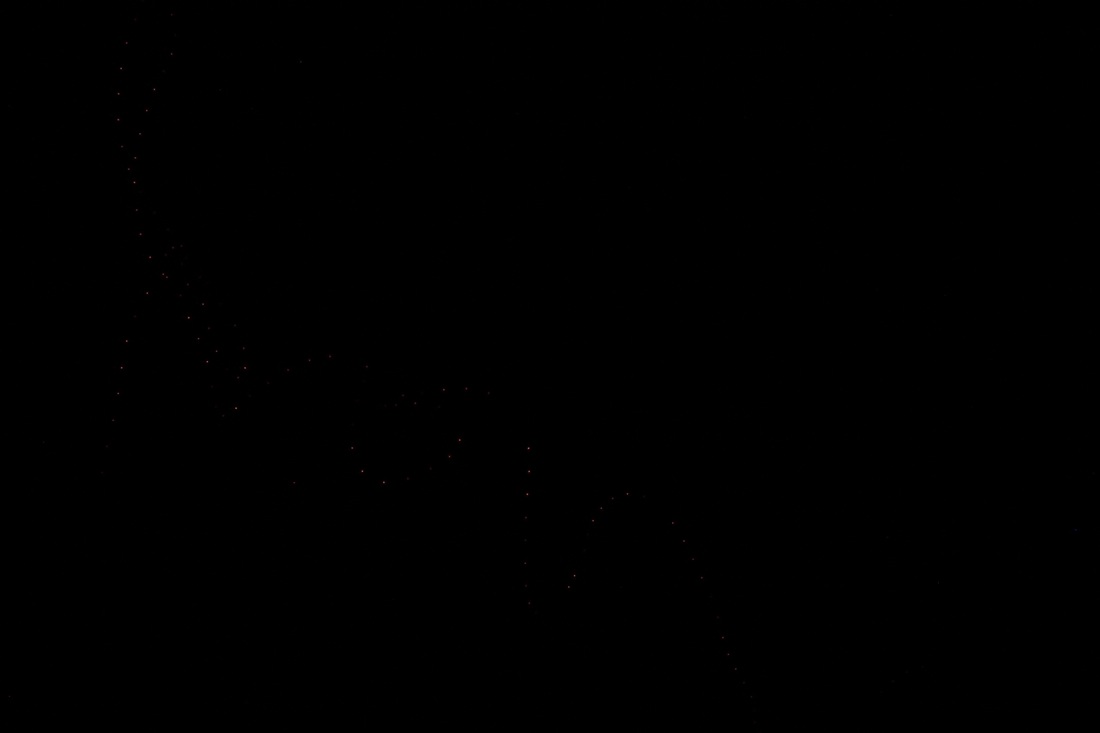
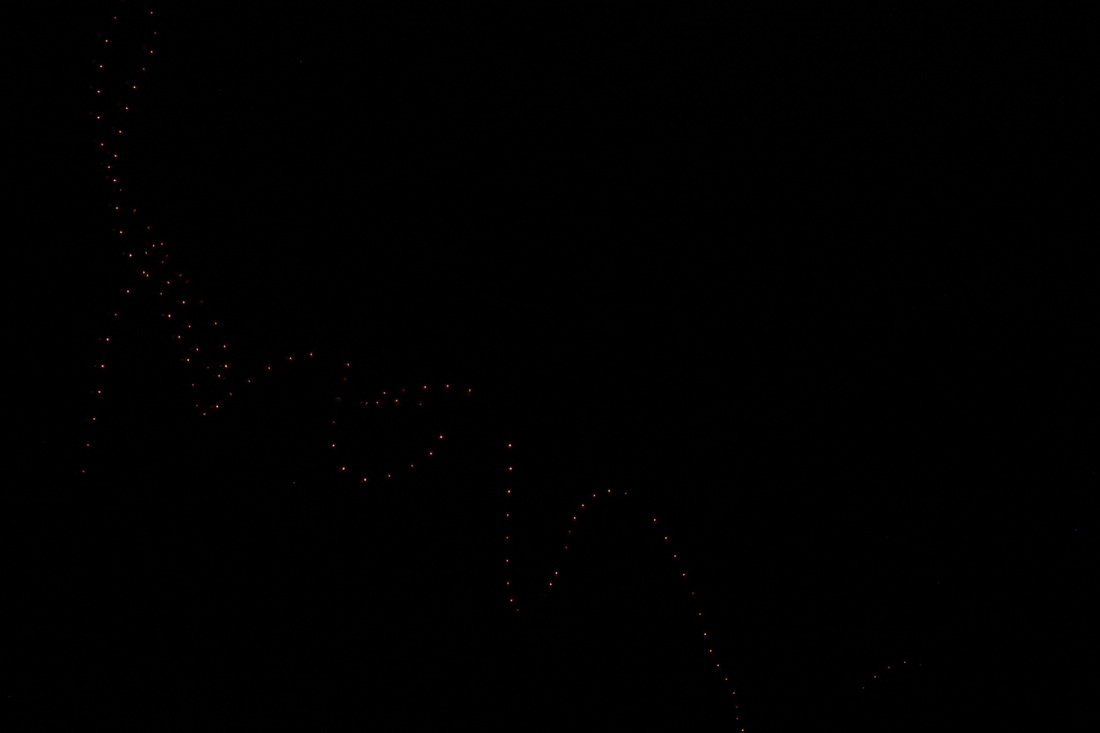
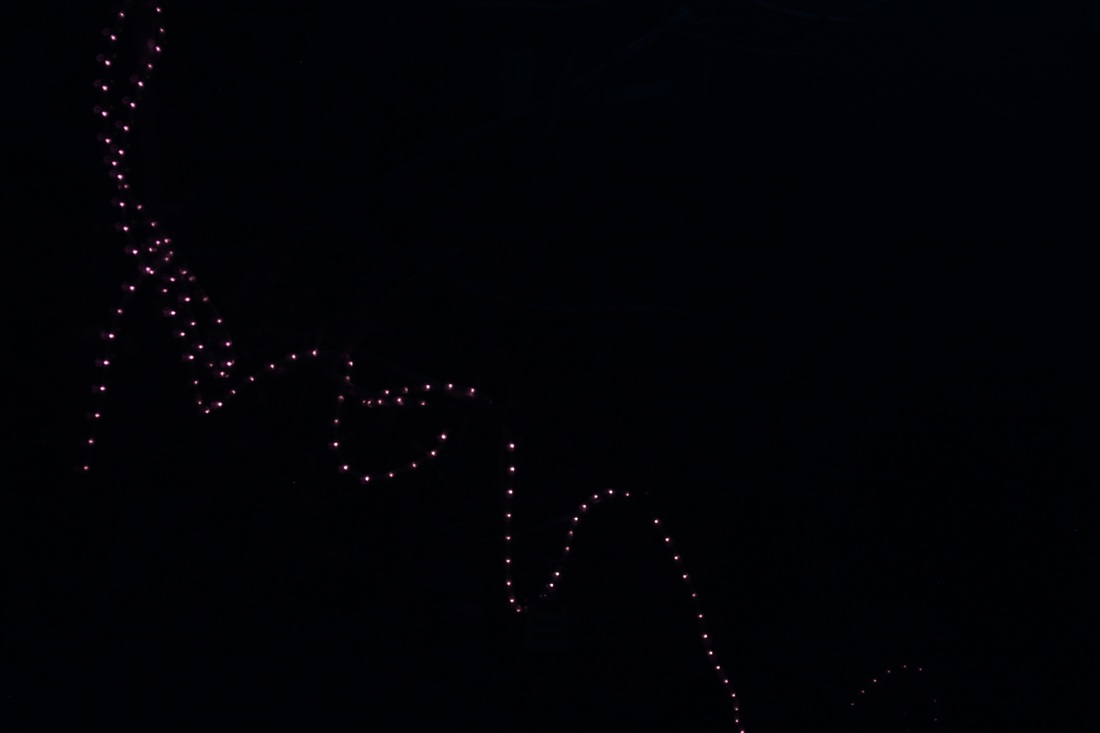
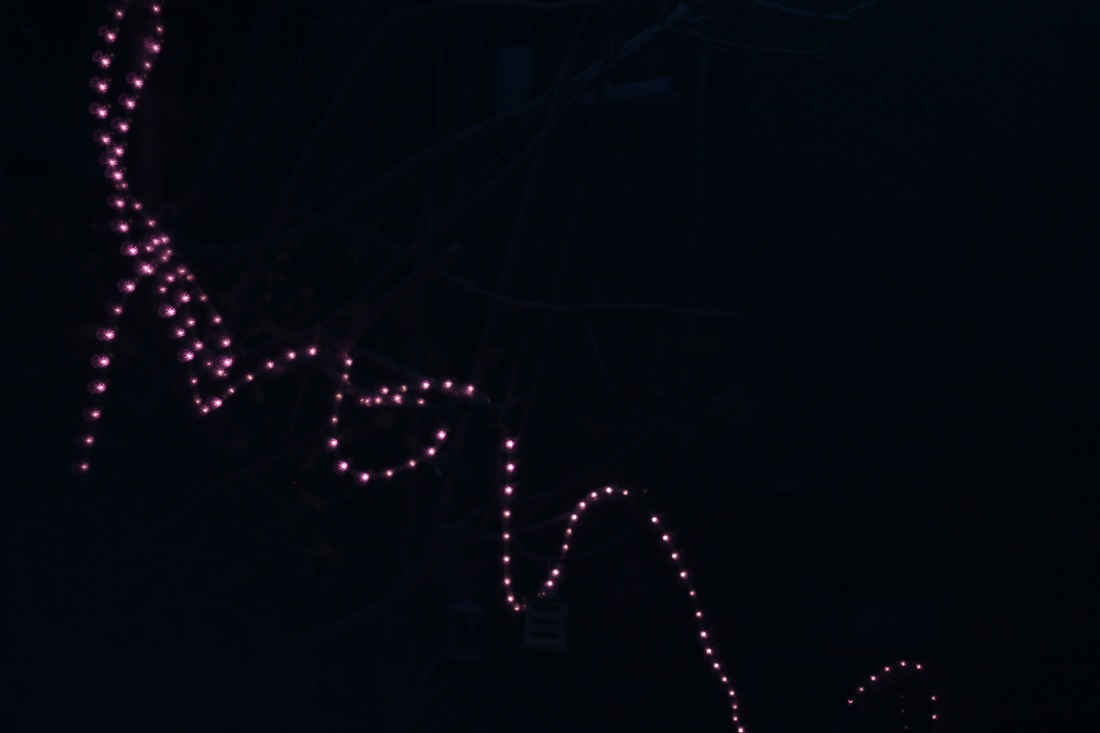
Long Exposures With Zoom
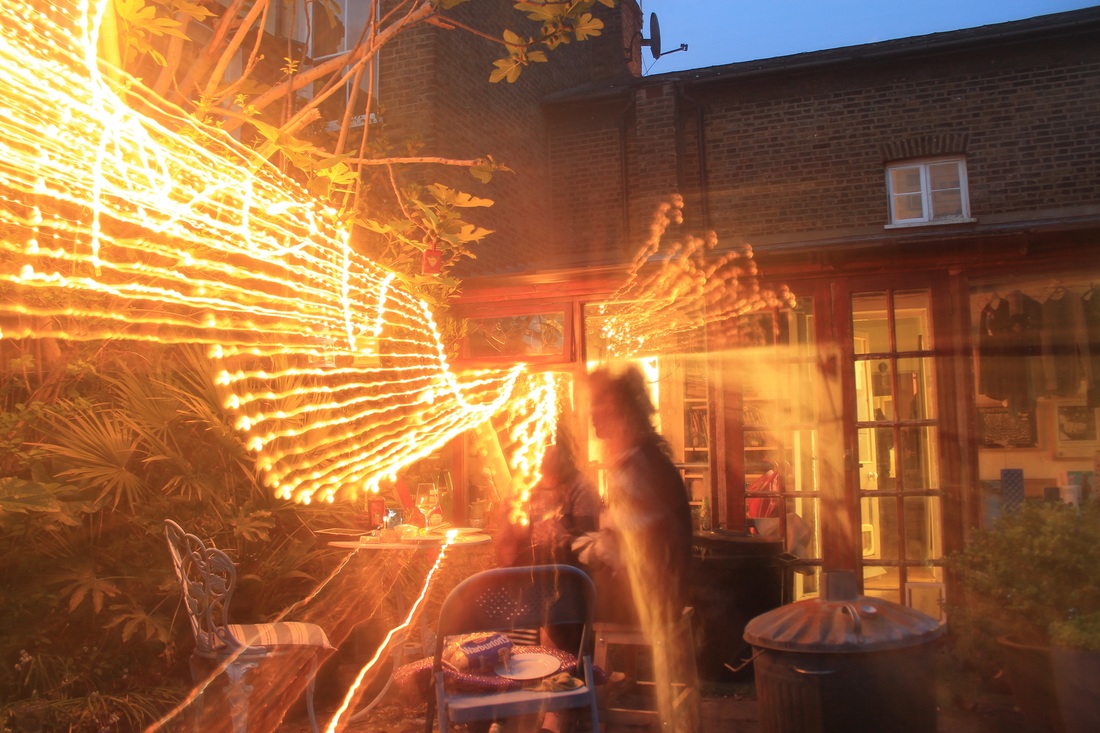
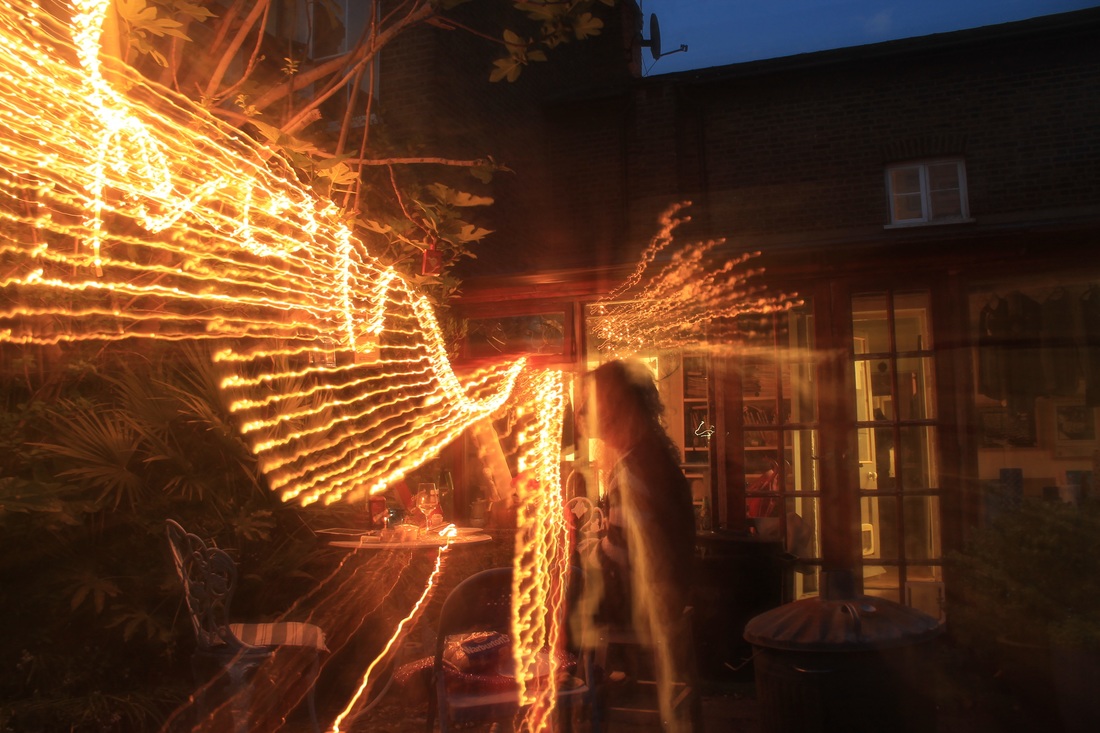
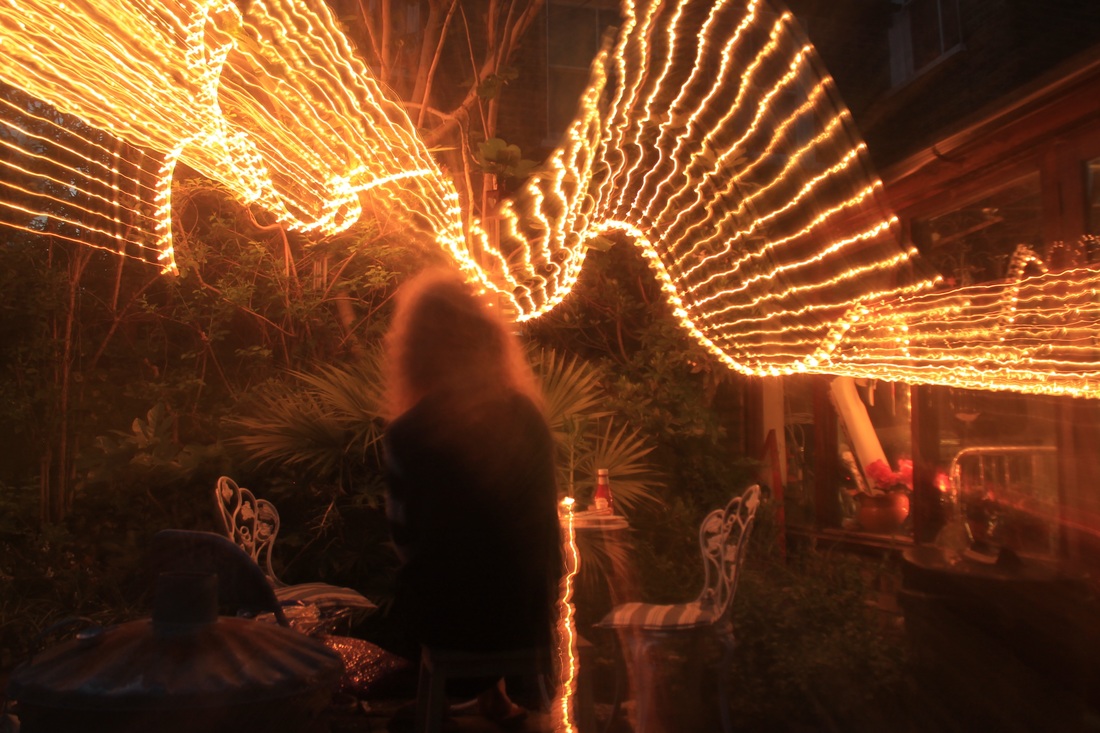
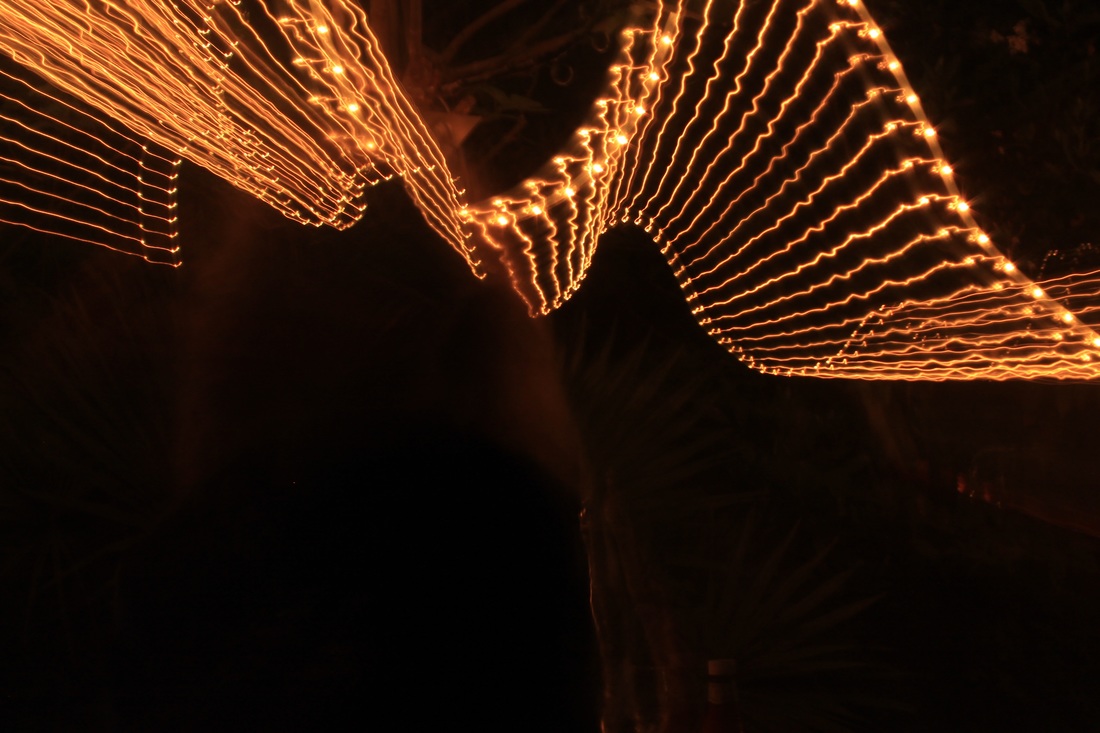
For these photos I set up a tripod in my garden and set my camera to manual. I read something a few days before about combining long exposures with zooming and the photos that I looked at looked amazing. I decided to try it out on a smaller scale (the pictures I looked at were of cities at night). For the first pictures I used the settings ISO 100, f/5.6 and Tv10. As soon as I pressed the shutter I started to slowly zoom out. I had to make sure I did it as evenly as possible and not zoom faster at one point or slower at another. This was so that the lights we come out as a smooth streak and wouldn't look broken and jerky. I used these settings for the first 2 photos and then decided to change the settings since it looked slightly over exposed. I changed the F-stop to F/10 and did the exact same process. The image came out a lot better. I was happy with that photo so I decided to change the composition and zoom in instead of out. I previously thought that it wouldn't change the way the lights looked but I was wrong. I changed the exposure time to Tv8 and focused the lens on the lights. Again, I soon as I clicked the shutter down I slowly started to evenly zoom in. I really really like the photos that followed and the way the lights look is incredible. I want to defiantly try this again, but on a different scale, maybe a street or an interesting light display.
